


* 겪고 있는 문제 상황을 최대한 자세하게 작성해주세요.
* 문제 해결을 위해 어떤 시도를 해보았는지 구체적으로 함께 알려주세요.
url을 input에 넣고 '등록하기'를 눌렀지만 저장완료와 함께 mongoDB에 데이터가 안나와요!!
무엇이 잘못된걸까요??
api가져오기는 몇번을 반복해서 봐도 이해하기가 힘든것같아요 @_@
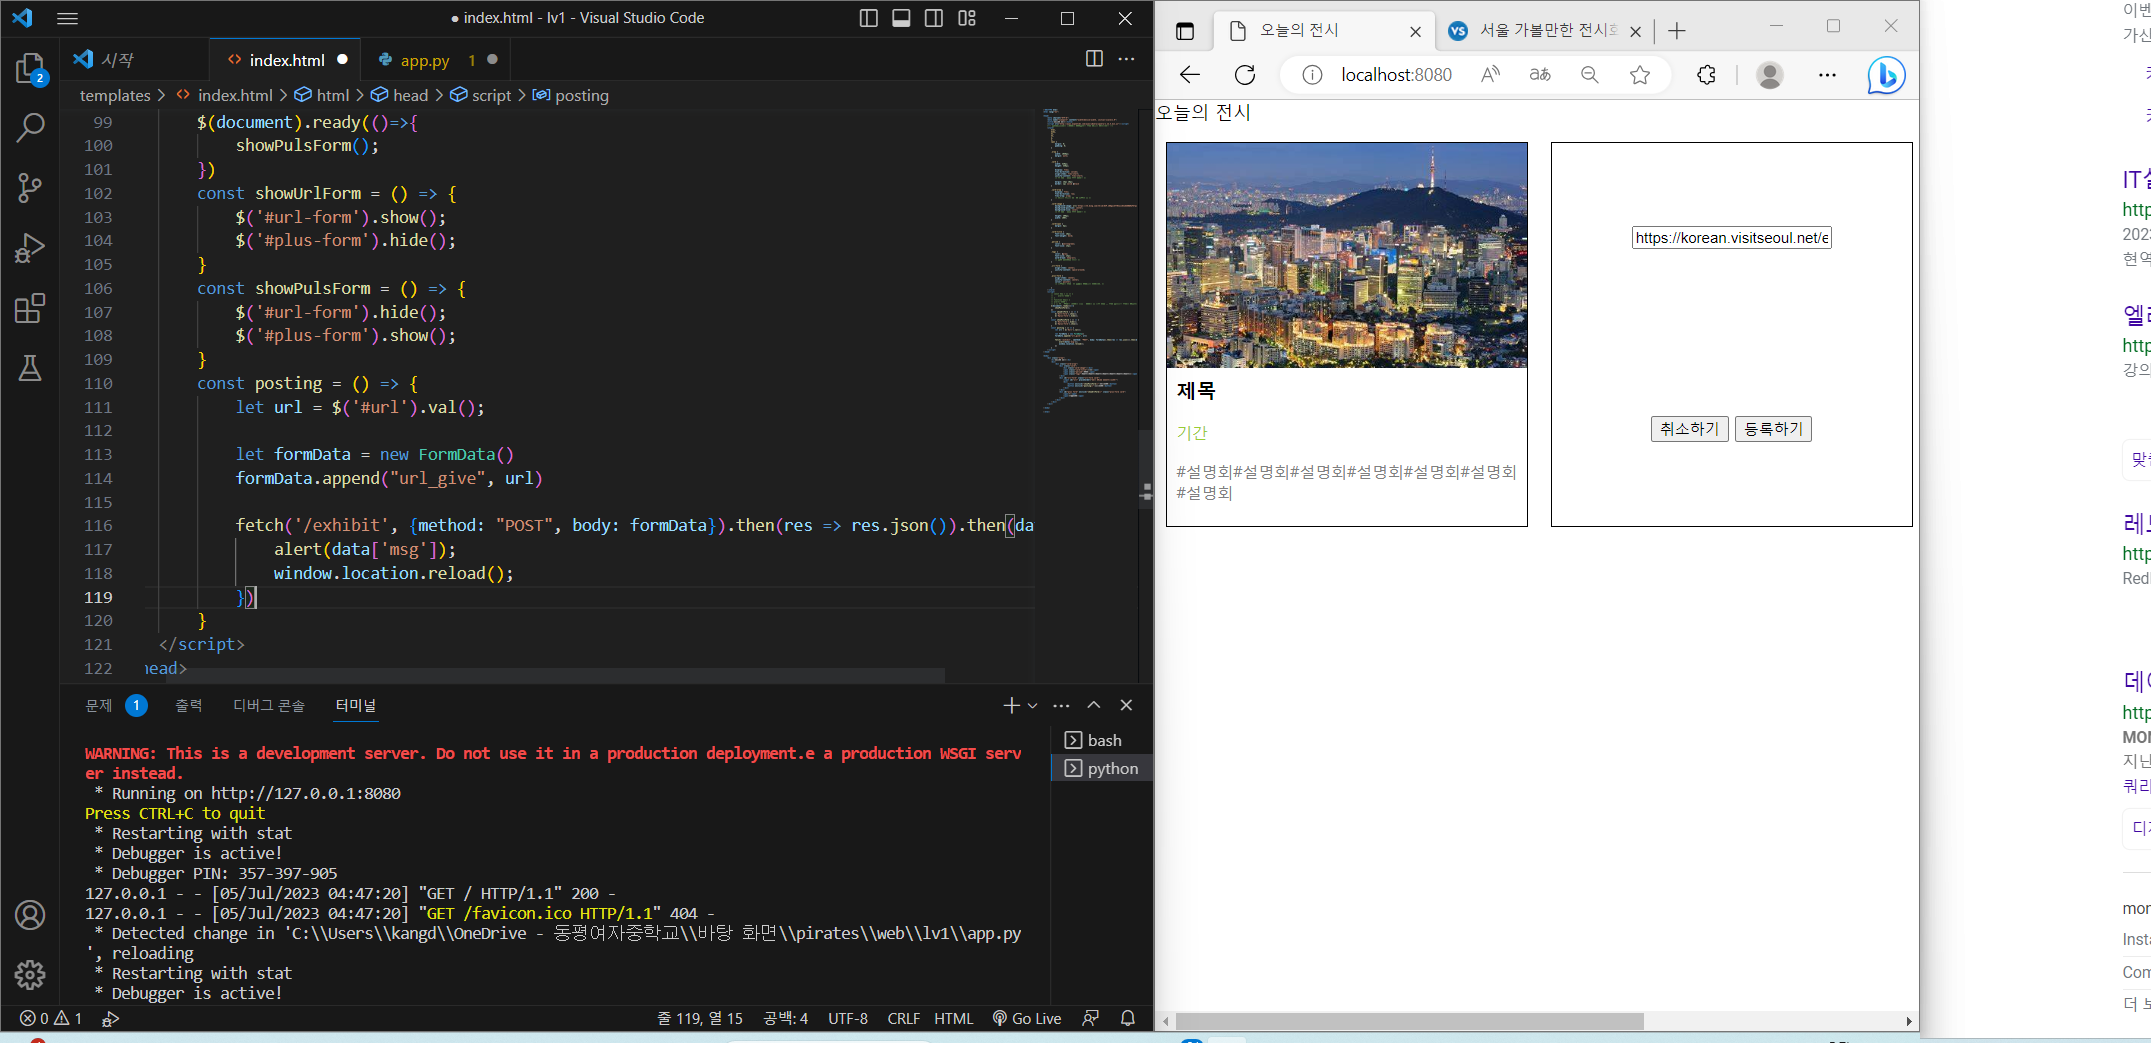
첫번째 코드는 프론트엔드(index.html)쪽 코드입니다!
<!DOCTYPE html>
<html lang="en">
<head>
<meta charset="UTF-8">
<meta name="viewport" content="width=device-width, initial-scale=1.0">
<title>오늘의 전시</title>
<script src="http://ajax.aspnetcdn.com/ajax/jQuery/jquery-1.12.4.min.js"></script>
<!-- 자바스크립트를 주기위한 기초작업!! 이걸 반드시 넣어야함!! -->
<style>
html,
body,
h1,
h2,
p,
a,
span {
margin: 0;
padding: 0;
}
.wrap {
width: 1050px;
margin: auto;
}
.card {
width: 320px;
height: 340px;
display: flex;
flex-direction: column;
align-items: flex-start;
justify-content: flex-start;
/* 이 4줄은 항상 같이 다님!! */
margin: 16px 10px;
border: 1px solid black
}
.card-wrap {
display: flex;
flex-direction: row;
flex-wrap: wrap;
/* 카드를 옆으로 나란히 세우는 것 */
}
.card-image {
background-image: url('https://th.bing.com/th/id/OIP.1O8gucXT70CuizOCuUZ8BQHaFS?pid=ImgDet&rs=1');
background-position: center;
background-size: cover;
/* 이 3줄은 항상 같이 다님!! */
height: 200px;
width: 100%;
}
.card>span {
margin: 8px;
}
.card-title {
font-size: 18px;
font-weight: bold;
}
.period {
color: yellowgreen;
font-size: 14px;
}
.tags {
color: gray;
font-size: 14px;
word-break: keep-all;
/* 자동 줄바꿈을 해줌! */
}
.url-form {
align-items: center;
justify-content: space-around;
}
.plus-form {
align-items: center;
justify-content: center;
cursor: pointer;
/* 마우스를 갖다대면 손가락 모양으로 바꾸게함. */
}
</style>
<script>
// const hey = () => {
// alert('안녕')
// } 은
// function hey() {
// alert('안녕')
// } 과 같은 거임!! (함수를 마치 변수처럼 쓸 일이 있을 때 이걸 쓰게됨!! 이걸로 기억해주자)
$(document).ready(()=>{
showPulsForm();
})
const showUrlForm = () => {
$('#url-form').show();
$('#plus-form').hide();
}
const showPulsForm = () => {
$('#url-form').hide();
$('#plus-form').show();
}
const posting = () => {
let url = $('#url').val();
let formData = new FormData()
formData.append("url_give", url)
fetch('/exhibit', {method: "POST", body: formData}).then(res => res.json()).then(data => {
alert(data['msg']);
window.location.reload();
})
}
</script>
</head>
<body>
<div class="wrap">
<hi>오늘의 전시</hi>
<div>
<div class="card-wrap">
<div class="card">
<div class="card-image"></div>
<span class="card-title">제목</span>
<span class="period">기간</span>
<span class="tags">#설명회#설명회#설명회#설명회#설명회#설명회#설명회</span>
</div>
<div id="url-form" class="url-form card">
<input id="url" placeholder="전시 URL을 입력해주세요!">
<div>
<button onclick="showPulsForm()">취소하기</button>
<button onclick="posting()">등록하기</button>
</div>
</div>
<div id="plus form" onclick="showUrlForm()" class="plus-form card">
<span>+</span>
<span>추가하기</span>
</div>
</div>
</div>
</div>
</body>
</html>
-------------------------------------------------------------------------------------------------------------
두번째 코드는 백엔드(app.py)쪽 코드입니다!
from flask import Flask, render_template, request, jsonify
app = Flask(__name__)
import requests
from bs4 import BeautifulSoup
from pymongo import MongoClient
client = MongoClient("mongodb+srv://sparta:test@cluster0.rqqkbue.mongodb.net/?retryWrites=true&w=majority")
db = client.pirates_lv1
@app.route('/')
def home():
return render_template("index.html")
@app.route('/exhibit', methods=["POST"])
def post_exhibit():
url_receive = request.form["url_give"]
headers = {
'User-Agent': 'Mozilla/5.0 (Windows NT 10.0; Win64; x64)AppleWebKit/537.36 (KHTML, like Gecko) Chrome/73.0.3683.86 Safari/537.36'}
data = requests.get(url, headers=headers)
soup = BeautifulSoup(data.text, 'html.parser')
title = soup.select_one ('#container > div.wide-inner > section > div.infor-title > h3').text
period = soup.select_one ('#container > div.detial-cont-element.active > div > dl:nth-child(1) > dd').text.strip()
tags = soup.select_one('#container > section.tag-element.poi').text.replace('\n',' ')
image = soup.select('.item')[1]['style'].replace("background-image:url('",'').replace("');",'')
image = 'https://korean.visitseoul.net'+image
doc = {
'url':url_receive,
'title':title,
'period':period,
'tags':tags,
'image':image
}
db.exhibition.insert_one(doc)
return jsonify({"msg": "저장 완료!"})
if __name__ == "__main__":
app.run(debug=True, port=8080)


